The Secret Weapons of Pro Tilers Nobody Tells You About
Ever walk onto a job and feel like you’re missing a piece of the puzzle? You know, that feeling when you realize you might be using a butter knife to spread mortar? Not ideal. That’s where having the right tools in your arsenal comes in. It’s the difference between professional tilers and amateur tilers.
Do you know having the right tools can transform your tiling experience. So, grab a cup of coffee, pull up a chair, and let’s talk about the essential tiling toolkit!
First Things First
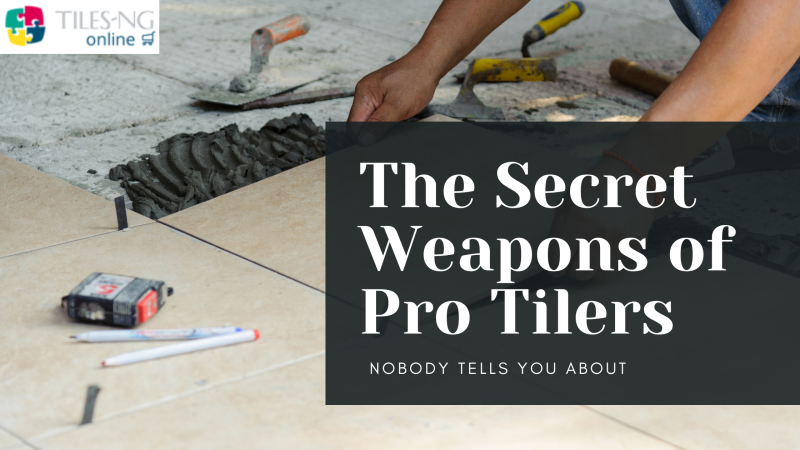
The Notched trowel: This is your secret weapon for laying a perfect foundation. It comes in various notch sizes, kind of like ridges on a comb. Why the different sizes? Well, imagine spreading frosting on a cake. Bigger tiles and thicker materials like stone need a bigger “comb” (notch) to ensure even coverage. Smaller tiles and thinner materials? A smaller notch will do the trick.
Keeping Things Spacey
Next up: Spacers: These thin wedges maintain consistent space between your tiles, creating that beautiful uniform grout line everyone admires. Plastic spacers work well for most ceramic or porcelain tiles. But for delicate stone tiles prone to chipping, rubber spacers are your friend. They compress slightly during grouting, adding a little extra protection.
Choosing the Right Tile Cutter
Now, let’s talk about tile cutters.
Manual cutters are budget-friendly and great for occasional small jobs or thin ceramic tiles. Need more power and speed for those tougher jobs?
Electric tile cutters are your answer, perfect for thicker or harder materials like porcelain or stone.
The king of versatility, though, is the Wet tile saw. It tackles any tile type, including stone, with precise cuts. Plus, it uses water to keep dust down and prevent the blade from overheating.
Applying and Smoothing
The Grout Float: It looks a bit like a fancy paint scraper, but trust me, it’s essential. This flat, spongy tool lets you apply and smooth out grout between your tiles. A rubber grout float is the go-to for most tile and grout combinations.
The Grout Sponge: This is use to remove excess grout from the tile surface after application. Remember to always rinse with clean water to prevent spreading grout haze.
Utility Knife: A handy tool for various tasks, including cutting caulk tubes, opening grout bags, or trimming around fixtures.
Taking Care of Your Tools
Taking care of your tools is crucial. After each use, give them a good cleaning with water and a rag to remove mortar, grout, or debris. Letting residue dry can damage them.
Always keep those tile cutter blades sharp for clean, precise cuts. Blunt blades are a recipe for chipped and cracked tiles – nobody wants that!
Finally, store your tools in a dry place to prevent rust and keep them ready for your next project.
So, there you have it, guys! With the right knowledge and tools, you’re ready to conquer your next tiling project.
Now get out there and show the world your tiling prowess! Happy tiling!