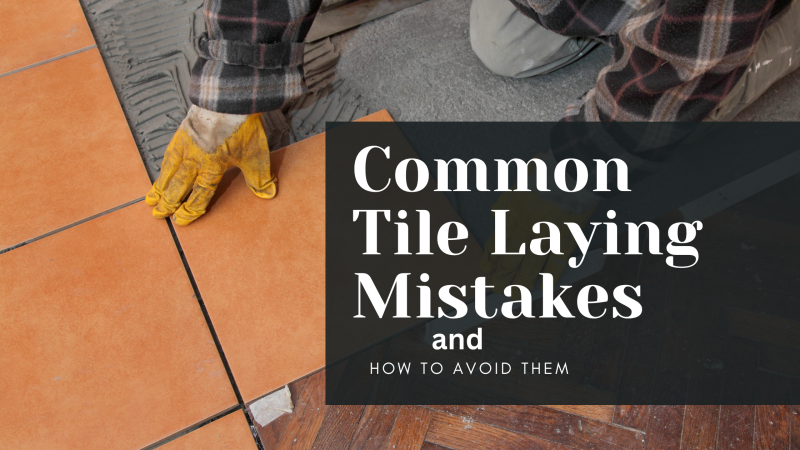
Top 5 Common Tiling Mistakes and How to Avoid Them
A well-laid tile can transform the most ordinary spaces into spots of elegance.
However, it is crucial to be aware of common mistakes in order to achieve professional-looking results. In this blog post, we will discuss the most frequently encountered pitfalls in tile laying and provide you with practical solutions to ensure successful tile projects.
1. Inadequate Surface Preparation: The first common mistake is skipping the initial step of surface preparation. If the surface is not clean, flat, and dry, the tiles won’t adhere correctly, leading to an uneven finish and potentially, tiles that come loose later.
Solution: Don’t rush the preparation phase. Clean the surface thoroughly, fill any cracks, level it, and ensure it is dry before proceeding with the tile laying.
2. Ignoring Tile Layout: Going straight into tile laying without a well-planned layout can result in an inconsistent and unprofessional look.
Solution: Spend time plotting your layout. Start from the center of the room and work your way out. This will ensure that your tiles lay out evenly and symmetrically, avoiding thin slivers of tiles at the room’s edges.
3. Choosing Wrong Adhesive: All adhesives are not created equal. Using the wrong adhesive can cause adhesion failure.
Solution: The choice of adhesive should depend on the tile type, substrate, and where the tiling is being done. For instance, a water-resistant adhesive would be necessary in areas prone to moisture like bathrooms. Always follow the manufacturer’s guidelines while choosing and applying adhesive.
4. Inappropriate Grouting: Crumbling or discolored grout lines are usually a sign of inappropriate grouting. This aspect is often overlooked, but it plays a significant role in the overall look and longevity of your tiles.
Solution: Make sure you use the correct type and color of grout. Clean excess grout immediately and allow it to cure fully following the manufacturer’s instructions.
5. Cutting Tiles Incorrectly: Tiles that are not cut perfectly to fit edges, corners or around fixtures like outlets, create a very amateurish look.
Solution: Use a proper tile cutting tool. Measure twice, cut once. And always plan cuts as part of your overall layout planning.
Conclusion:
A successful tile installation requires attention to detail and a proactive approach to prevent common mistakes. By being mindful of these common pitfalls and following the suggested remedies, you will be on your way to handling successful tile projects just like a pro. As the adage goes – measure twice, cut once.
Happy Tiling!
